Listing equipment is simple. You need to complete two steps: first, add and manage your products, and second, add those products to your inventory. This process ensures your equipment is properly displayed and available for rental or sale.
Do I need to set up a shop before listing products?
Yes, you must set up your virtual shop before listing any inventory. The system will automatically guide you to the Shop Details page the first time you attempt to list inventory. This step is essential because your shop acts as the storefront for your products.
What information is required to set up my shop?
When setting up your shop, you will need to provide a unique identifier, which is not visible to other users and can match your shop name. You must also enter your shop name, which can be your personal name or your business name. The system will generate a default SEO-friendly URL based on your shop name, but you can edit it if needed. Additionally, you must provide address details so renters or buyers know where to pick up equipment. You have the option to upload a banner or logo for your shop, with recommended dimensions provided, and you can also add links to your social media profiles for easy access.
How do I add products?
To add products, go to the Seller Dashboard and select “Rental Products and Promotions,” then click on “Inventory.” If your inventory is empty, click the “More Action” button and choose “Add New Product.” This will take you to the Custom Product Setup page, where you can enter all the necessary details for your product.
What details do I need to provide for a new product?
On the Custom Product Setup page, you must create a unique product identifier that is not visible to other users. If the identifier is already in use, add a numerical suffix. Provide a clear product name that accurately represents the item, and select the appropriate product category. If the category does not exist, you can request that it be added. You may also enter a minimum selling price if you plan to sell the item; otherwise, enter zero. If you are registered for GST, select the appropriate tax category so U-Crew can automatically add GST to orders. Include the required skill level for users, and optionally add warranty details, a YouTube video link, and a detailed description to help renters understand what they are hiring or buying. Specifications such as brand, model, weight, material, and dimensions can also be added, with brand requests handled by U-Crew if missing. If your product has variants, you can manage them under one listing by contacting admin@u-crew.com.au. Finally, upload photos of your equipment, ensuring each image is under 2MB. Once all details are complete, click Save to add your product to the platform.
How do I add inventory to make my products available on U-Crew?
To add inventory, go to the Rental Products and Promotions section in your Seller Dashboard. From there, click on More Actions and select My Products. This will display a list of all your products. To make a product available on U-Crew, click the plus button next to the product you want to add to your inventory.
What information do I need to provide when renting out equipment?
If you are renting your equipment, select the Rent tab and complete the required fields. The title and URL keyword will be automatically populated based on your product details. You can choose whether to publish the listing immediately or save it as a draft. Specify the date when the equipment will be available for rent and indicate its condition as new, used, or reconditioned. You can set a minimum rental duration in hours or days, and if the equipment is only available in multiple quantities, enter the minimum rental quantity. Include the original price to inform users of the equipment’s value, which is important for replacement purposes. You can also set a security deposit amount, which U-Crew will hold until you confirm the equipment has been returned in good condition. Add buffer hours between rentals to allow for cleaning or maintenance. If your equipment has variants, you can set different rental rates for each. Enter pricing for daily, weekly, or monthly rentals; only the prices you provide will be displayed. Finally, you can add additional information, list any restrictions, and include extra rental terms and conditions if needed. Once all details are complete, save your changes.
How do I enable the option to sell my equipment?
If you want to offer your equipment for sale in addition to renting it, select the Sale tab and complete the required fields. You can enable stock tracking so U-Crew automatically adjusts your inventory when items are sold. Choose whether to publish the listing immediately or save it as a draft, and specify the date when the equipment will be available for sale. Indicate the product condition as new, used, or reconditioned, and confirm whether you will use your shop’s return and cancellation policy. Select the fulfillment method, specifying whether the item is available for pickup only or if you will ship it. If your product has variants, you can set different sale prices for each. Enter the selling price and the available quantity, which U-Crew will monitor if stock tracking is enabled. Once all details are complete, save your changes.
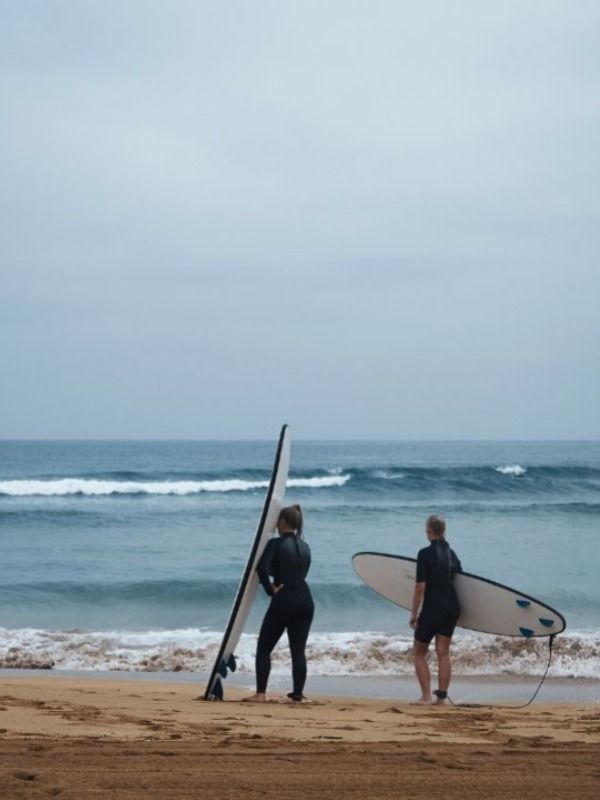
How can I search for equipment to hire on U-Crew?
You can search for equipment using the search box on the homepage if you know the exact item you are looking for. Alternatively, you can browse by selecting Equipment Categories from the top menu bar and navigating to the category you need. Once you select a category, you will see a summary of equipment available under that category.
Can I filter the equipment search results?
Yes, you can filter results by whether the equipment is for rent or sale, by a specific price range, by brand, by layup or material, and by the required skill level. These filters help you narrow down your options to find the most suitable equipment.
How is equipment displayed on U-Crew?
By default, equipment is shown in grid view with a photo, the daily rental price, and the distance from your current location. You can also choose list view or map view. In map view, locations with available equipment are shown, and you can click on the bouncing icon to see the list of equipment at that location.
How do I view detailed information about equipment?
Clicking on an equipment card will open a detailed view that includes all equipment details, as well as the rent and buy price. This page provides everything you need to know before making a rental decision.
How do I rent equipment on U-Crew?
To rent equipment, click on the “Rent Now” button. This will display more details, including periodic rental prices, the security deposit amount, and the minimum rental period. You will then select your start and end dates, confirm the pickup location, review the cancellation policy and rental terms, and click the “Request Hire” button. The system will ask a few screening questions before sending your hire request to the equipment owner.
What happens after I submit a hire request?
Once you submit a hire request, the owner will receive a message and email notification. The owner can review the request in their Seller Dashboard under Rental Orders and Hire Requests. They may contact you for more information before approving or rejecting the request.
How do I make payment after my hire request is approved?
If your hire request is approved, you will receive a message and email notification. You can then go to your Buyer Dashboard under Rental Orders and Hire Requests to select a payment option. Payments can be made by credit card using the Stripe payment gateway (subject to a 1.7% transaction fee) or by direct bank transfer (which has no transaction fee).
What happens after payment is made?
Once payment is completed, the owner will receive a message and email confirming that payment has been made. You can then proceed to arrange equipment collection.
What should I do when collecting and returning equipment?
At collection, the owner should check your identification and take photos of the equipment to record its condition. These photos should be uploaded to the platform through the Seller Dashboard under Rental Orders and Orders, with a 2MB limit per photo. Renters are also encouraged to take photos at pickup. When returning the equipment, both the owner and renter should mark the equipment as returned through the platform. The owner will indicate the amount of the security deposit to be refunded, subject to any damage. Photos must be uploaded as evidence for U-Crew Admin to review. U-Crew Admin will then finalise the rental and process the security deposit refund.